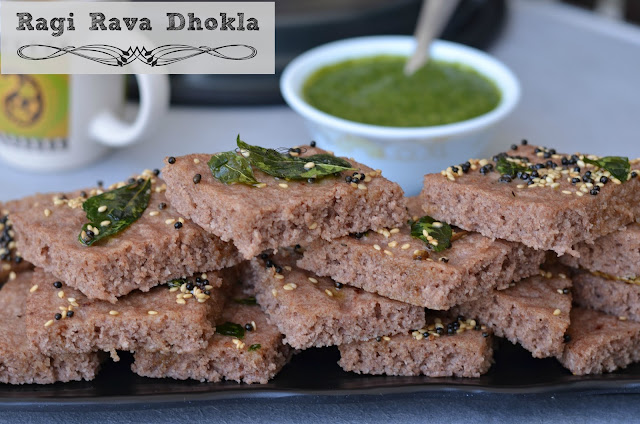
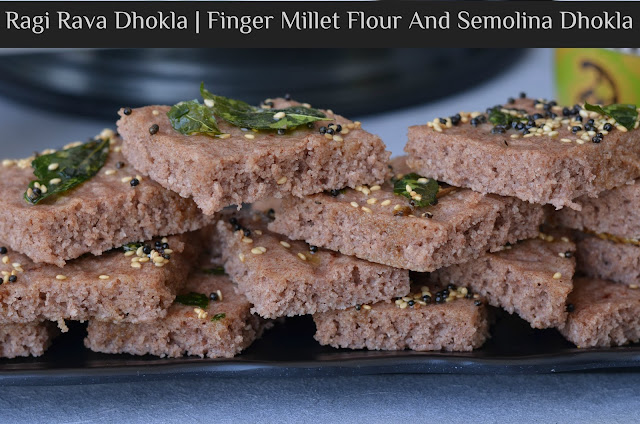
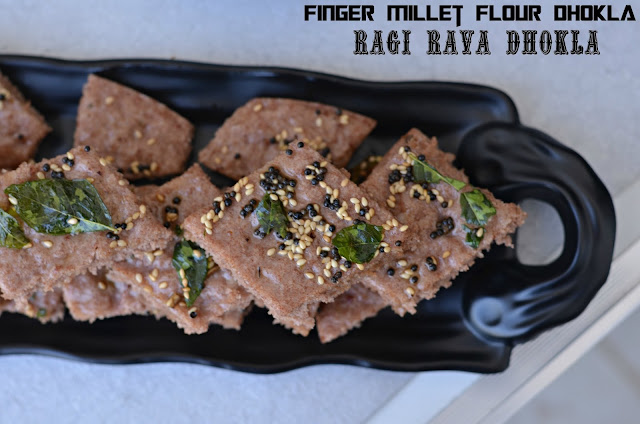
How To make Soft Spongy Ragi Rava Dhokla (Steamed Finger Millet Dhokla)
Ragi is a rich source of fiber, calcium, and iron. When it is consumed it is considered to be a great food for weight control, diabetes and cooling the body. Ragi is also gluten-free and highly suitable for those who are lactose intolerant. Today I am showcasing a Gujarati snack "Dhokla" in a new avatar. Ragi dhokla, a very simple snack to make and oil free as it is steam cooked. So let us see how to make steamed Ragi Rava Dhokla.Ingredients Sufficient For 4 People
1 Cup Ragi Flour (Finger Millet Flour)1 Cup Sooji/rava/semolina
1 Cup curd/yogurt
1" grated ginger
1.5 Tsp eno fruit salt or 1 Tsp baking soda
1/2 Cup water (optional)
1 Tblsp cooking oil
1 Tsp salt
For Tempering
2 Tsp cooking oil1 Tsp mustard seeds
2 Tsp sesame seeds/til
1 Sprig curry leaves
Salt to taste
1 Green chili slit(optional)
Method: 1) In a mixing bowl mix curd/yogurt, rava/sooji and ragi flour together and make a smooth paste. Keep it aside for 20 min.
2) Preheat the steamer and grease the dhokla plates.
3) After 20 min stirs the paste and adds water if needed. Consistency should be like idli batter.
4) Add grated ginger, salt, oil and eno fruit salt. Mix together and immediately pour over dhokla plates. Add eno just before everything is ready.
5) Steam it for 12-15 min on medium flame. In between check with a toothpick that it should come out clean.
6) Switch off the burner and let this cook down. Meanwhile, prepare for tempering.
7) Heat oil in a pan and add mustard seeds.
8) Once seeds crackle adds curry leaves, sesame seeds, and salt.
9) Pour this tempering over steamed dhokla plates, cut them in the square and serve with green coriander chutney or palak chutney.
Note 1) Consistency should be like idli batter. So adjust water accordingly.
2) Let them cool down a bit before cutting them.
3) Add eno just before pouring and everything is ready
This is my entry for BM #84 Week #4 Day #1 Steamed meal.

Instant Ragi Rava Dhokla Recipe | Steamed Finger Millet Dhokla
Ragi is a rich source of fiber, calcium, and iron. When it is consumed it is considered to be a great food for weight control, diabetes and cooling the body. Ragi is also gluten-free and highly suitable for those who are lactose intolerant. Today I am showcasing a Gujarati snack "Dhokla" in a new avatar. Ragi dhokla, a very simple snack to make and oil free as it is steam cooked. So let us see how to make steamed Ragi Rava Dhokla.
Details
Prep time: Cook time: Yield: 4 Servings
Ingredients
- 1 Cup Ragi Flour (Finger Millet Flour)
- 1 Cup Sooji/rava/semolina
- 1 Cup curd/yogurt
- 1" grated ginger
- 1.5 Tsp eno fruit salt or 1 Tsp baking soda
- 1/2 Cup water (optional)
- 1 Tblsp cooking oil
- 1 Tsp salt
- 2 Tsp cooking oil
- 1 Tsp mustard seeds
- 2 Tsp sesame seeds/til
- 1 Sprig curry leaves
- Salt to taste
- 1 Green chili slit(optional)
Instructions
1) In a mixing bowl mix curd/yogurt, rava/sooji and ragi flour together and make a smooth paste. Keep it aside for 20 min.2) Preheat the steamer and grease the dhokla plates.3) After 20 min stirs the paste and adds water if needed. Consistency should be like idli batter.4) Add grated ginger, salt, oil and eno fruit salt. Mix together and immediately pour over dhokla plates. Add eno just before everything is ready.5) Steam it for 12-15 min on medium flame. In between check with a toothpick that it should come out clean.6) Switch off the burner and let this cook down. Meanwhile, prepare for tempering.7) Heat oil in a pan and add mustard seeds.8) Once seeds crackle adds curry leaves, sesame seeds, and salt.9) Pour this tempering over steamed dhokla plates, cut them in the square and serve with green coriander chutney or palak chutney.
Note 1) Consistency should be like idli batter. So adjust water accordingly. 2) Let them cool down a bit before cutting them. 3) Add eno just before pouring and everything is ready
Note 1) Consistency should be like idli batter. So adjust water accordingly. 2) Let them cool down a bit before cutting them. 3) Add eno just before pouring and everything is ready


